
Mosaic Masterclasses in London
 Finally, I have for you a bit of a summary and a few tips from the Mosaic Masterclasses I took towards the end of July this year at the King’s College. We were lucky enough to have lectures by such well-established mosaic artists and icons of the mosaic world as Gary Drostle, Giulia Vogrig, Chris Smith or Alessandro Lugari. The masterclass was kindly hosted and organised by Will Wootton and Tamara Froud.
The indirect setting in cement
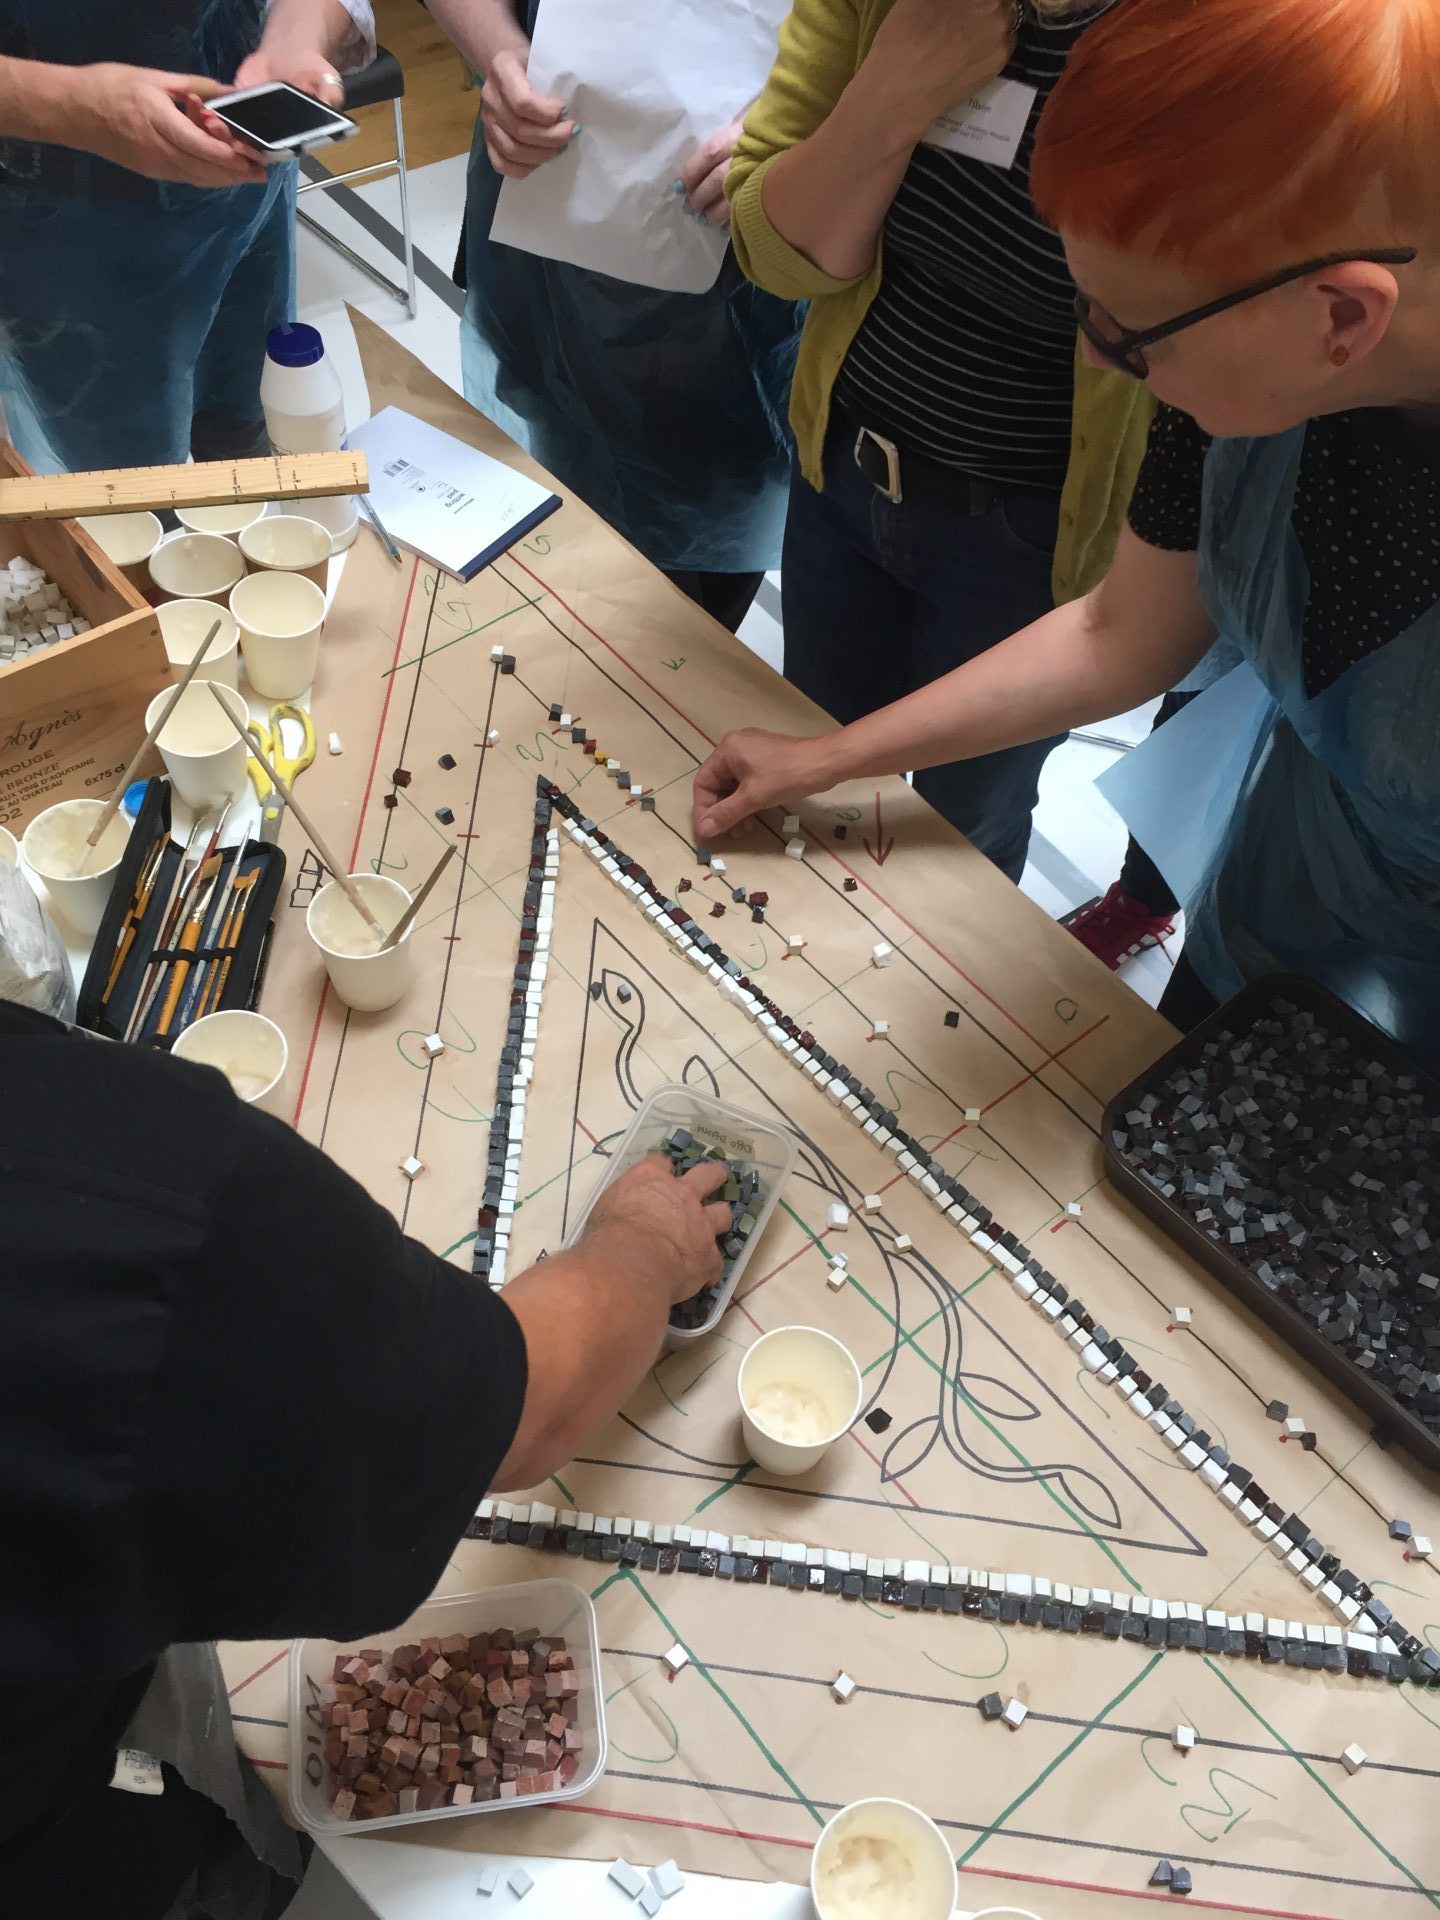
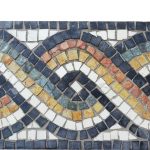
During the first day, we have looked at techniques for using the Hammer & Hardie. The following two days we have focused on techniques for making the roman guilloche mosaic using the paper faced reverse indirect method and setting it in cement. That means that we will be sticking tessera onto the paper upside down and placing the bits of the design onto the cement form before grouting it all.
Paper & the glue for reverse indirect method
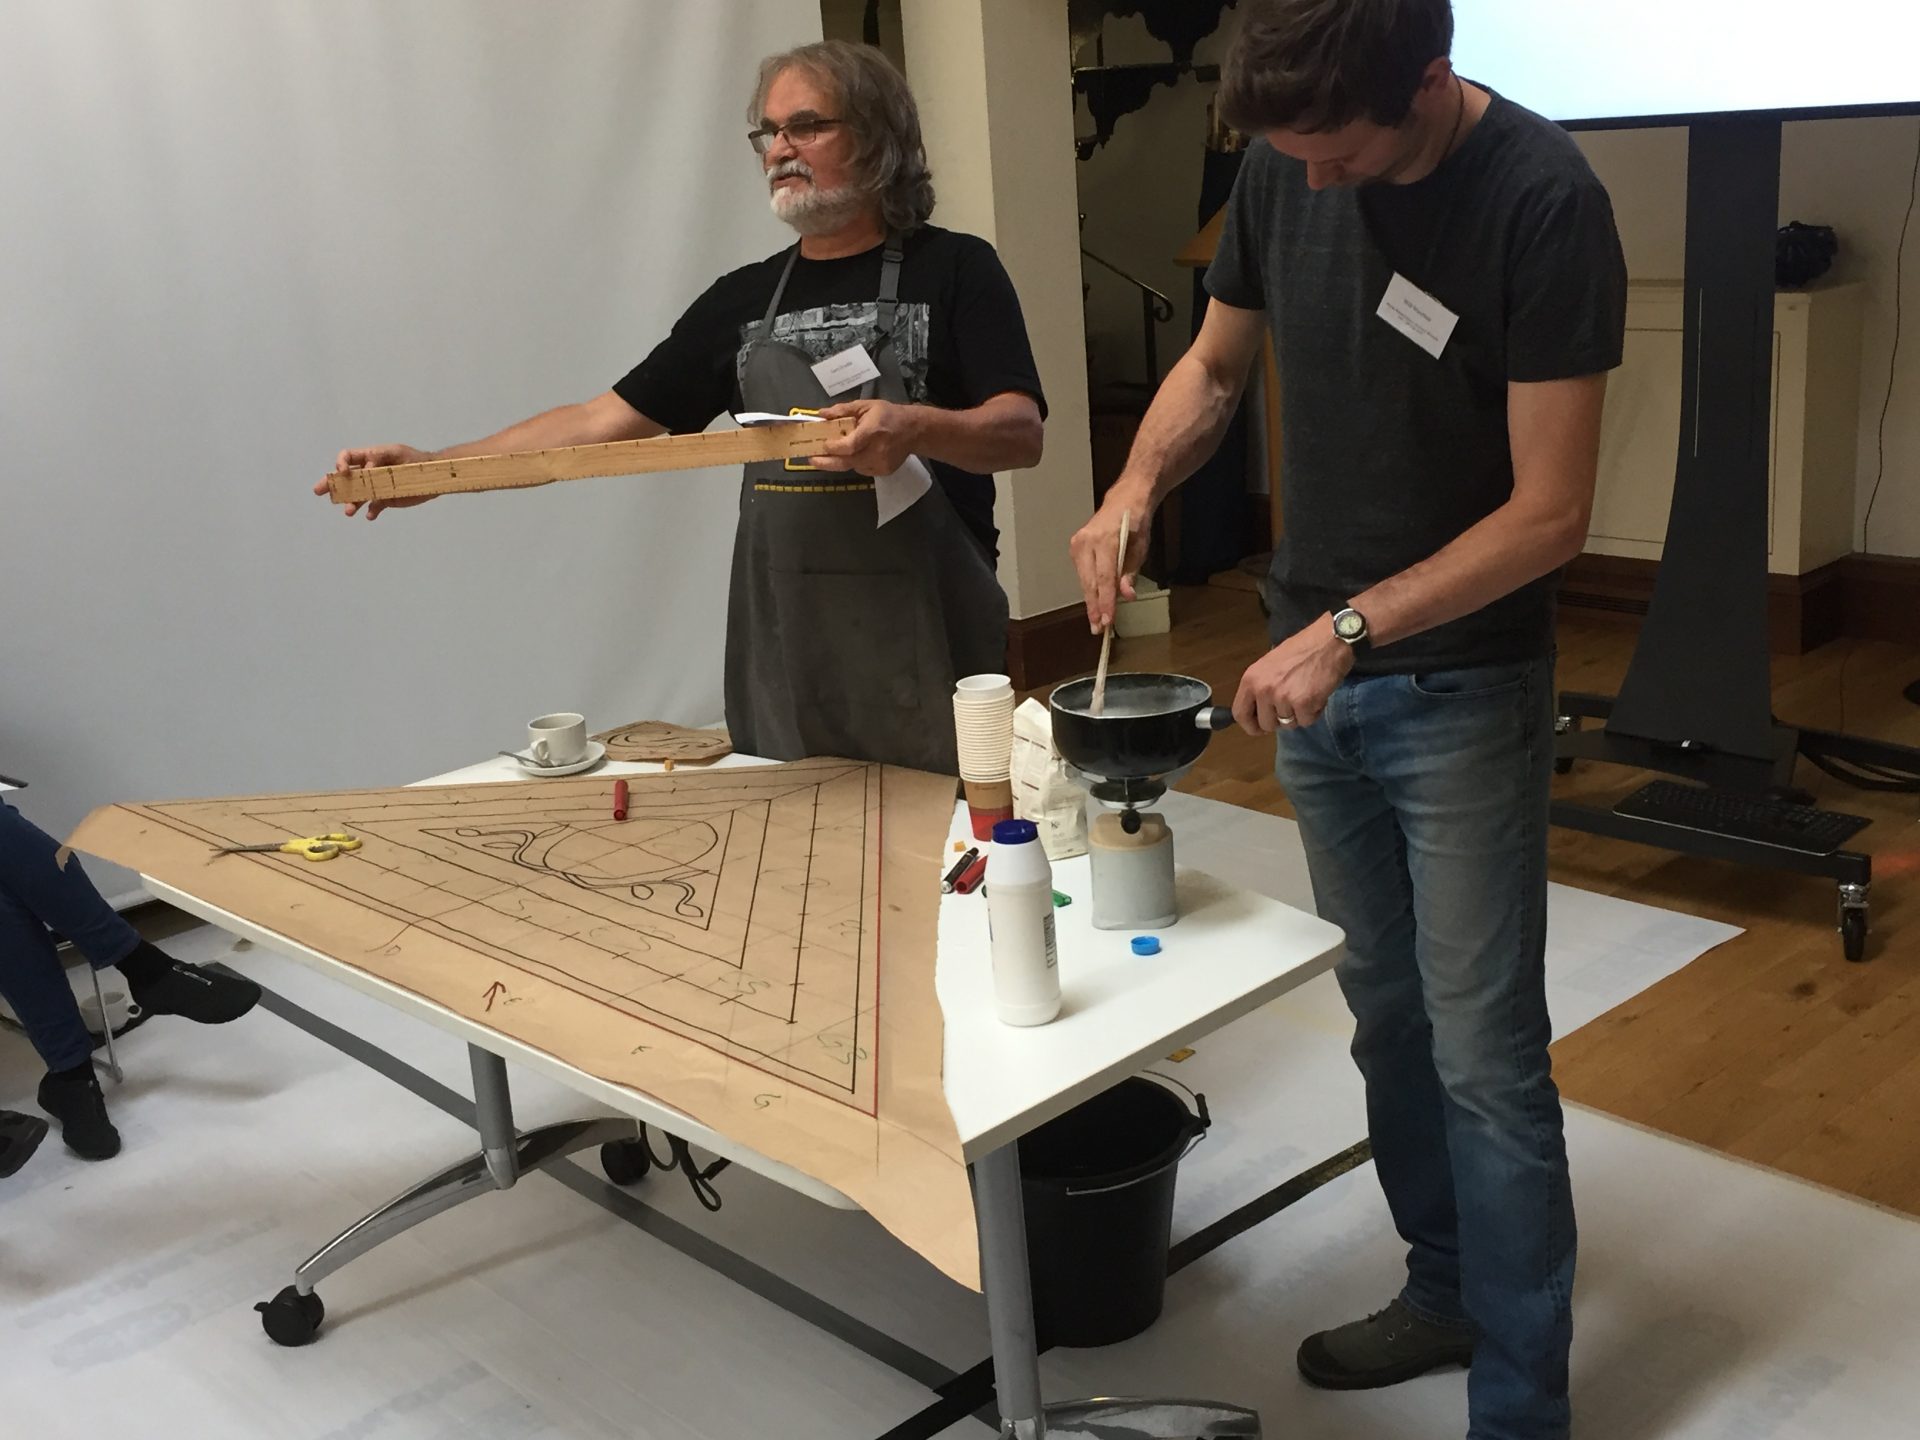
In order to use the method we need the pure craft paper, we use the not-shiny side (just to avoid tessera sliding around) and we stick the tiles with the glue. It can be general purpose PVA, rabbit skin glue (is it really out of a rabbit?!), gum arabic or… we can make our own glue! What do we need? Flower (plain), a bit of salt (it delays the moulding of the glue) and water. We heat it all up on a stove to create a pudding like a mixture. It’s ready when it’s translucent!
Designing & Sticking the guilloche mosaic
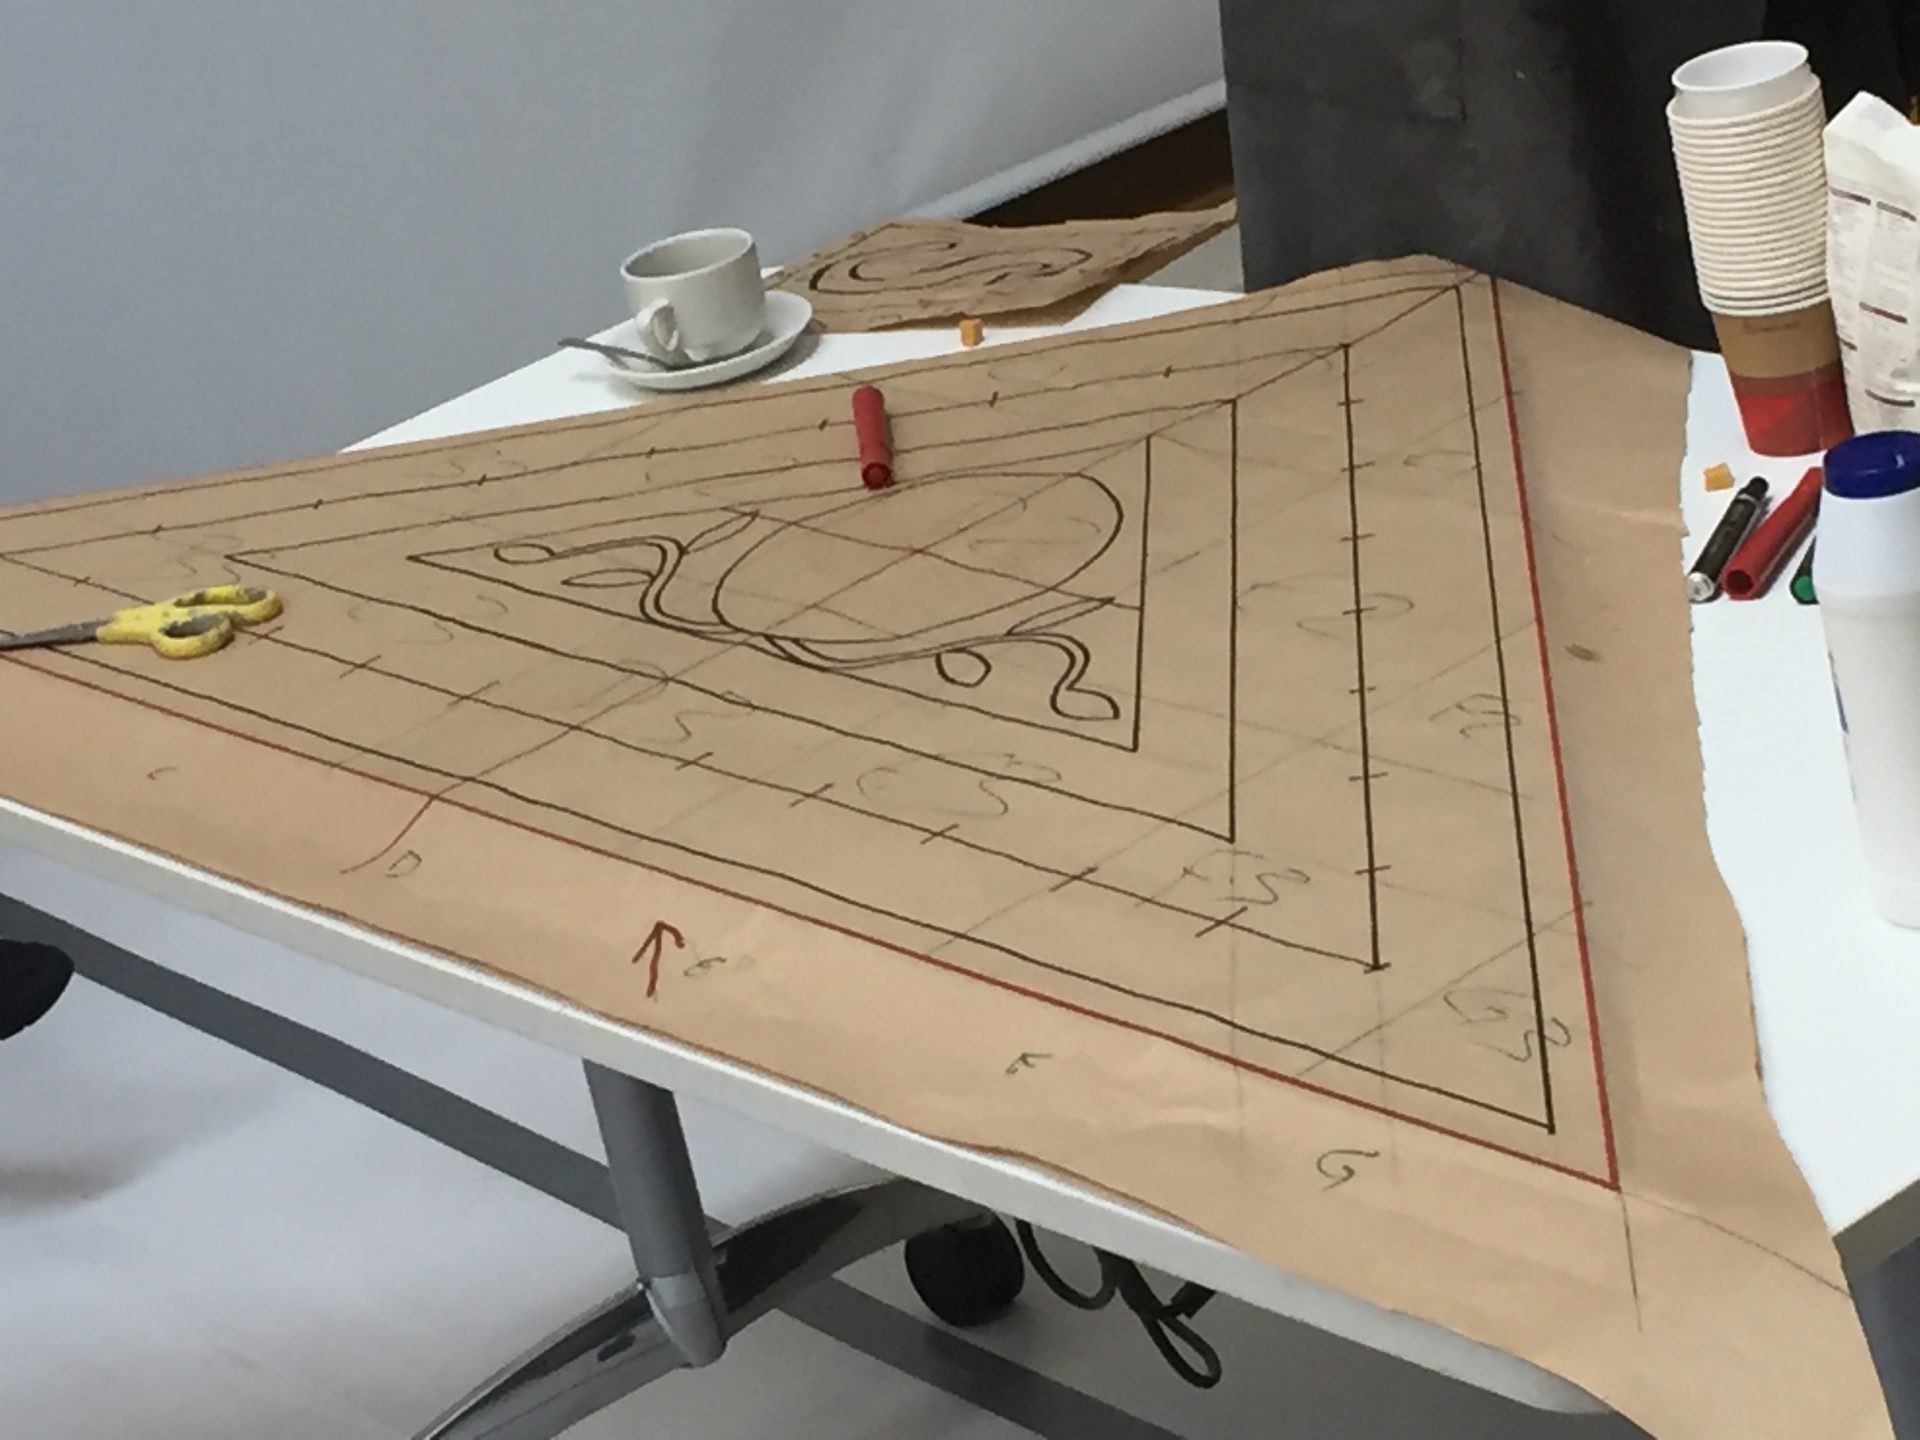
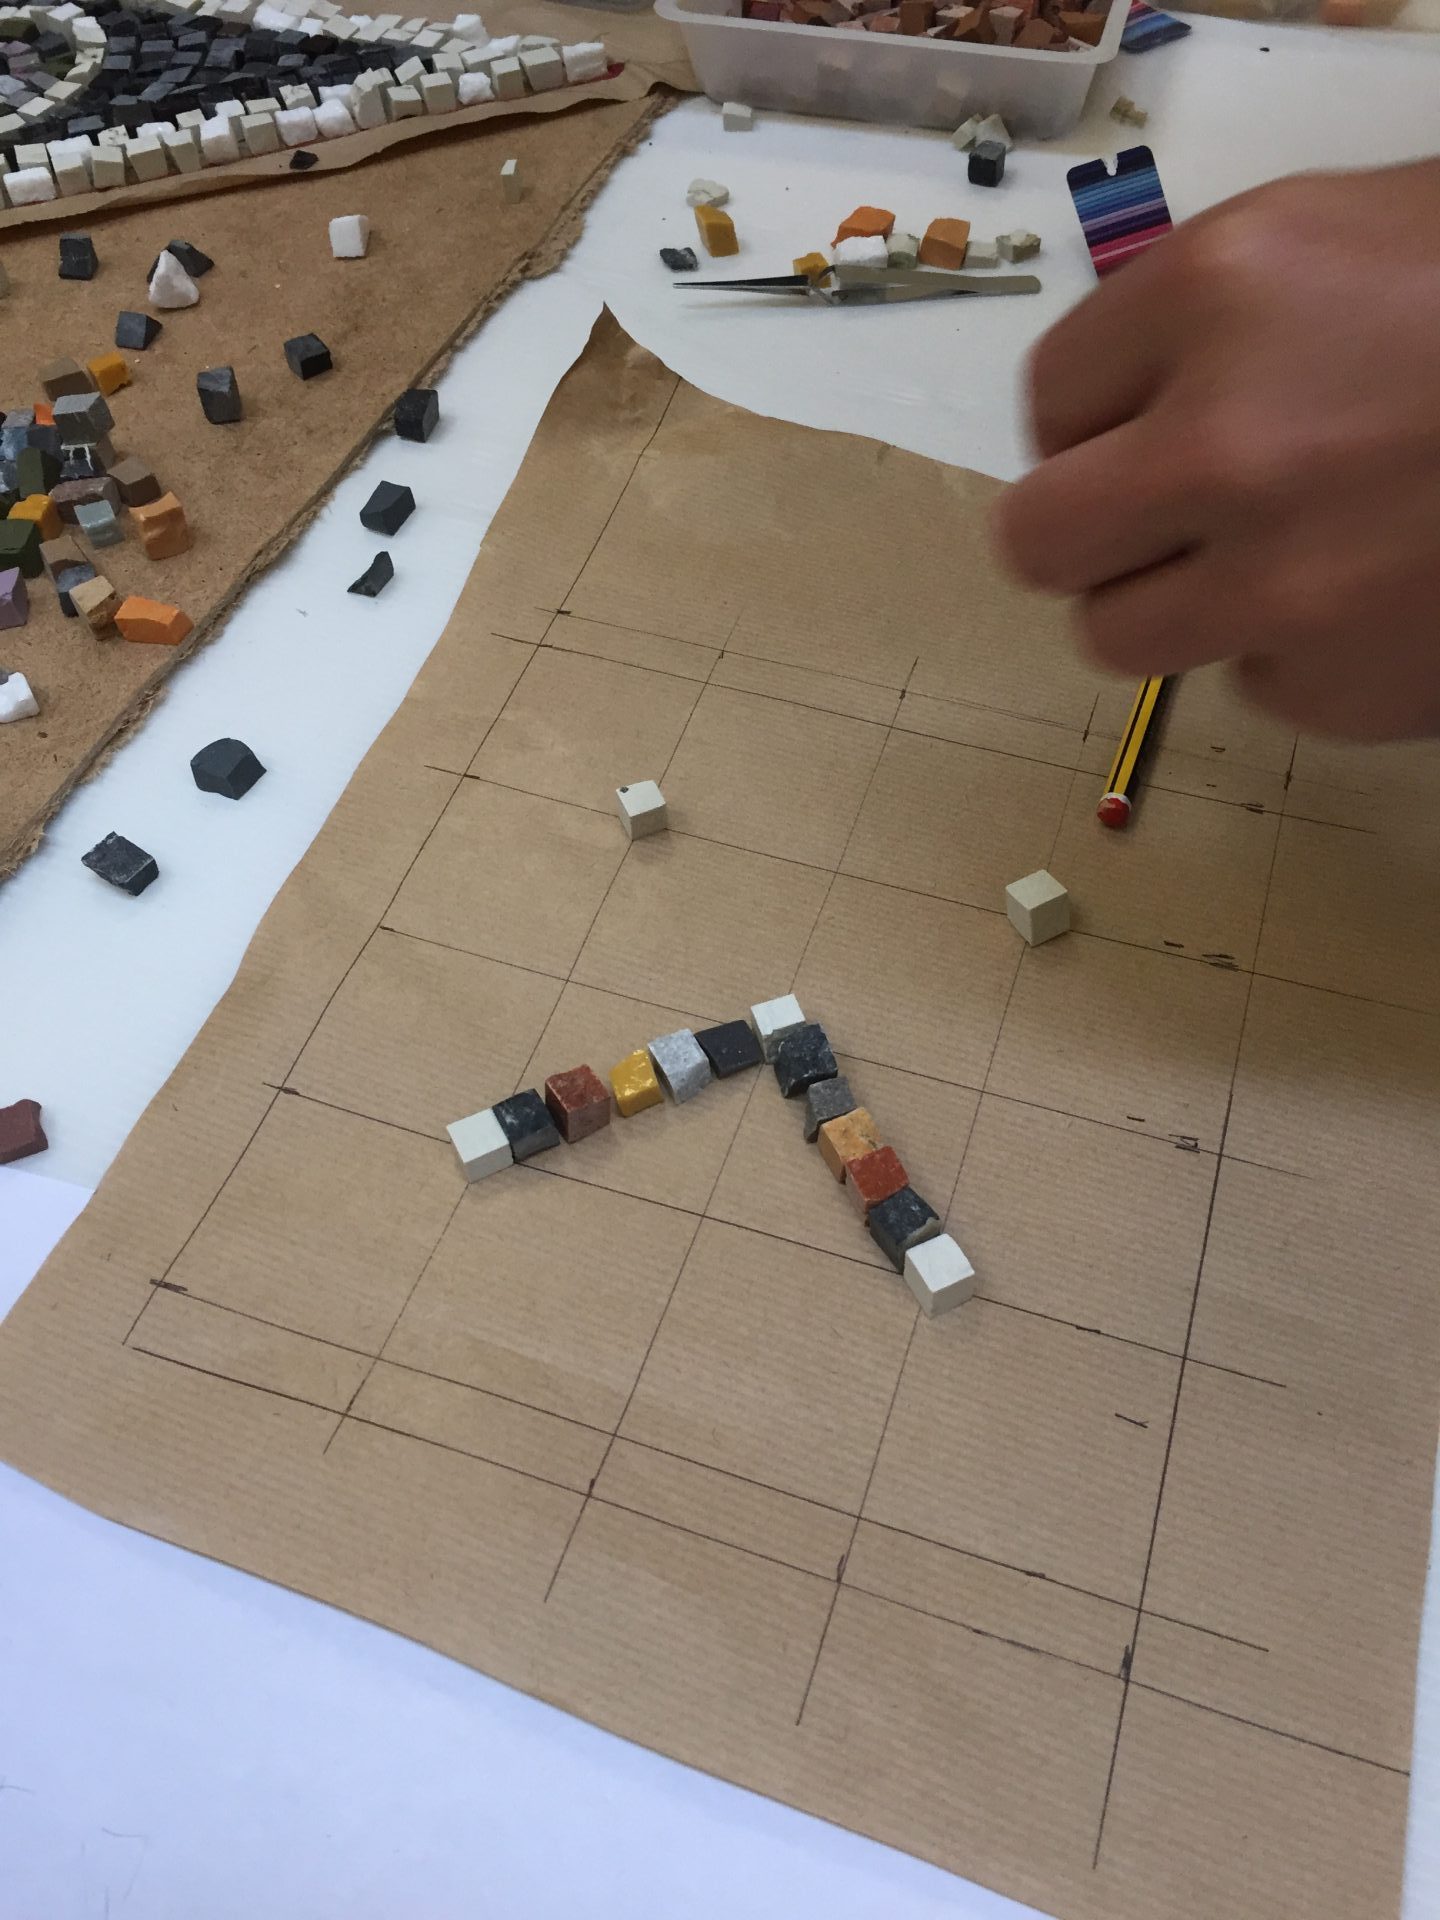
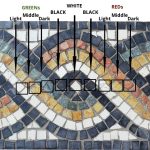
First of all, copy the main points of the design onto the paper (on the shiny side) and flip the paper to have the reverse which we will use for the mosaic. Mark where the white knots are in the design, which way the guilloche will wrap and the flow of it. When placing tessera, it is not so much about following the design pattern as it is about following few simple rules. During the class, we took a very methodological and almost mathematical approach to creating the actual guilloche pattern. Here is what’s important:
- Start with WHITE knot and place the white tessera on the previously made marks;
- On both sides of the WHITE knot place BLACK tessera;
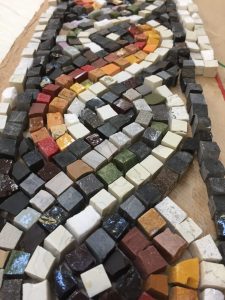
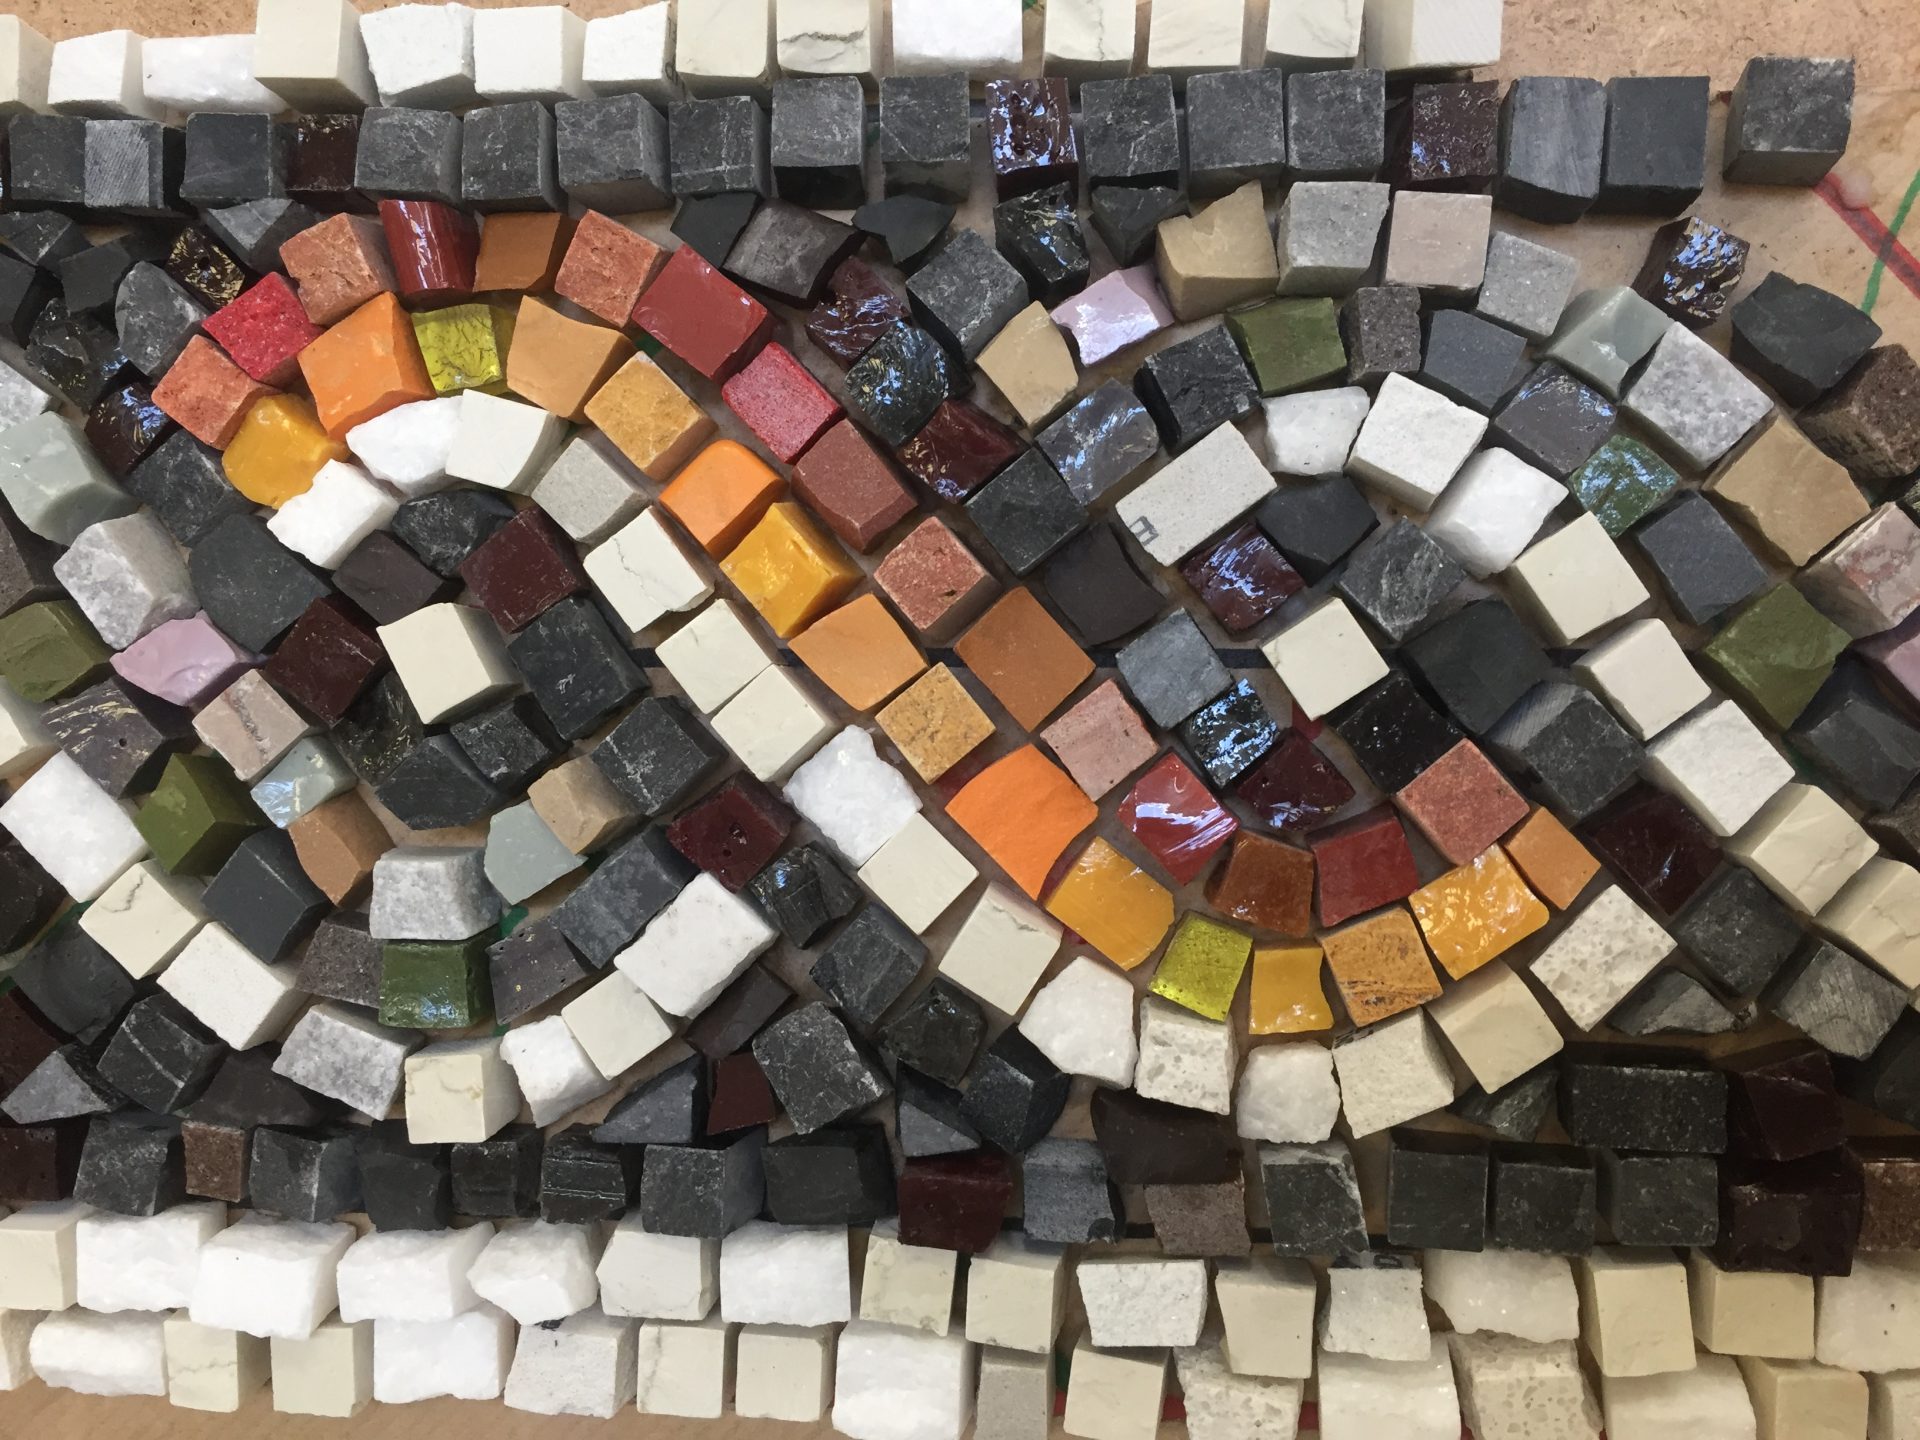
- to the left place one colour (greens) in the following tone order: dark, middle, light (or white) on the right place the second colour (reds): light (or white), middle, dark (see picture below). Continue the process as per design.
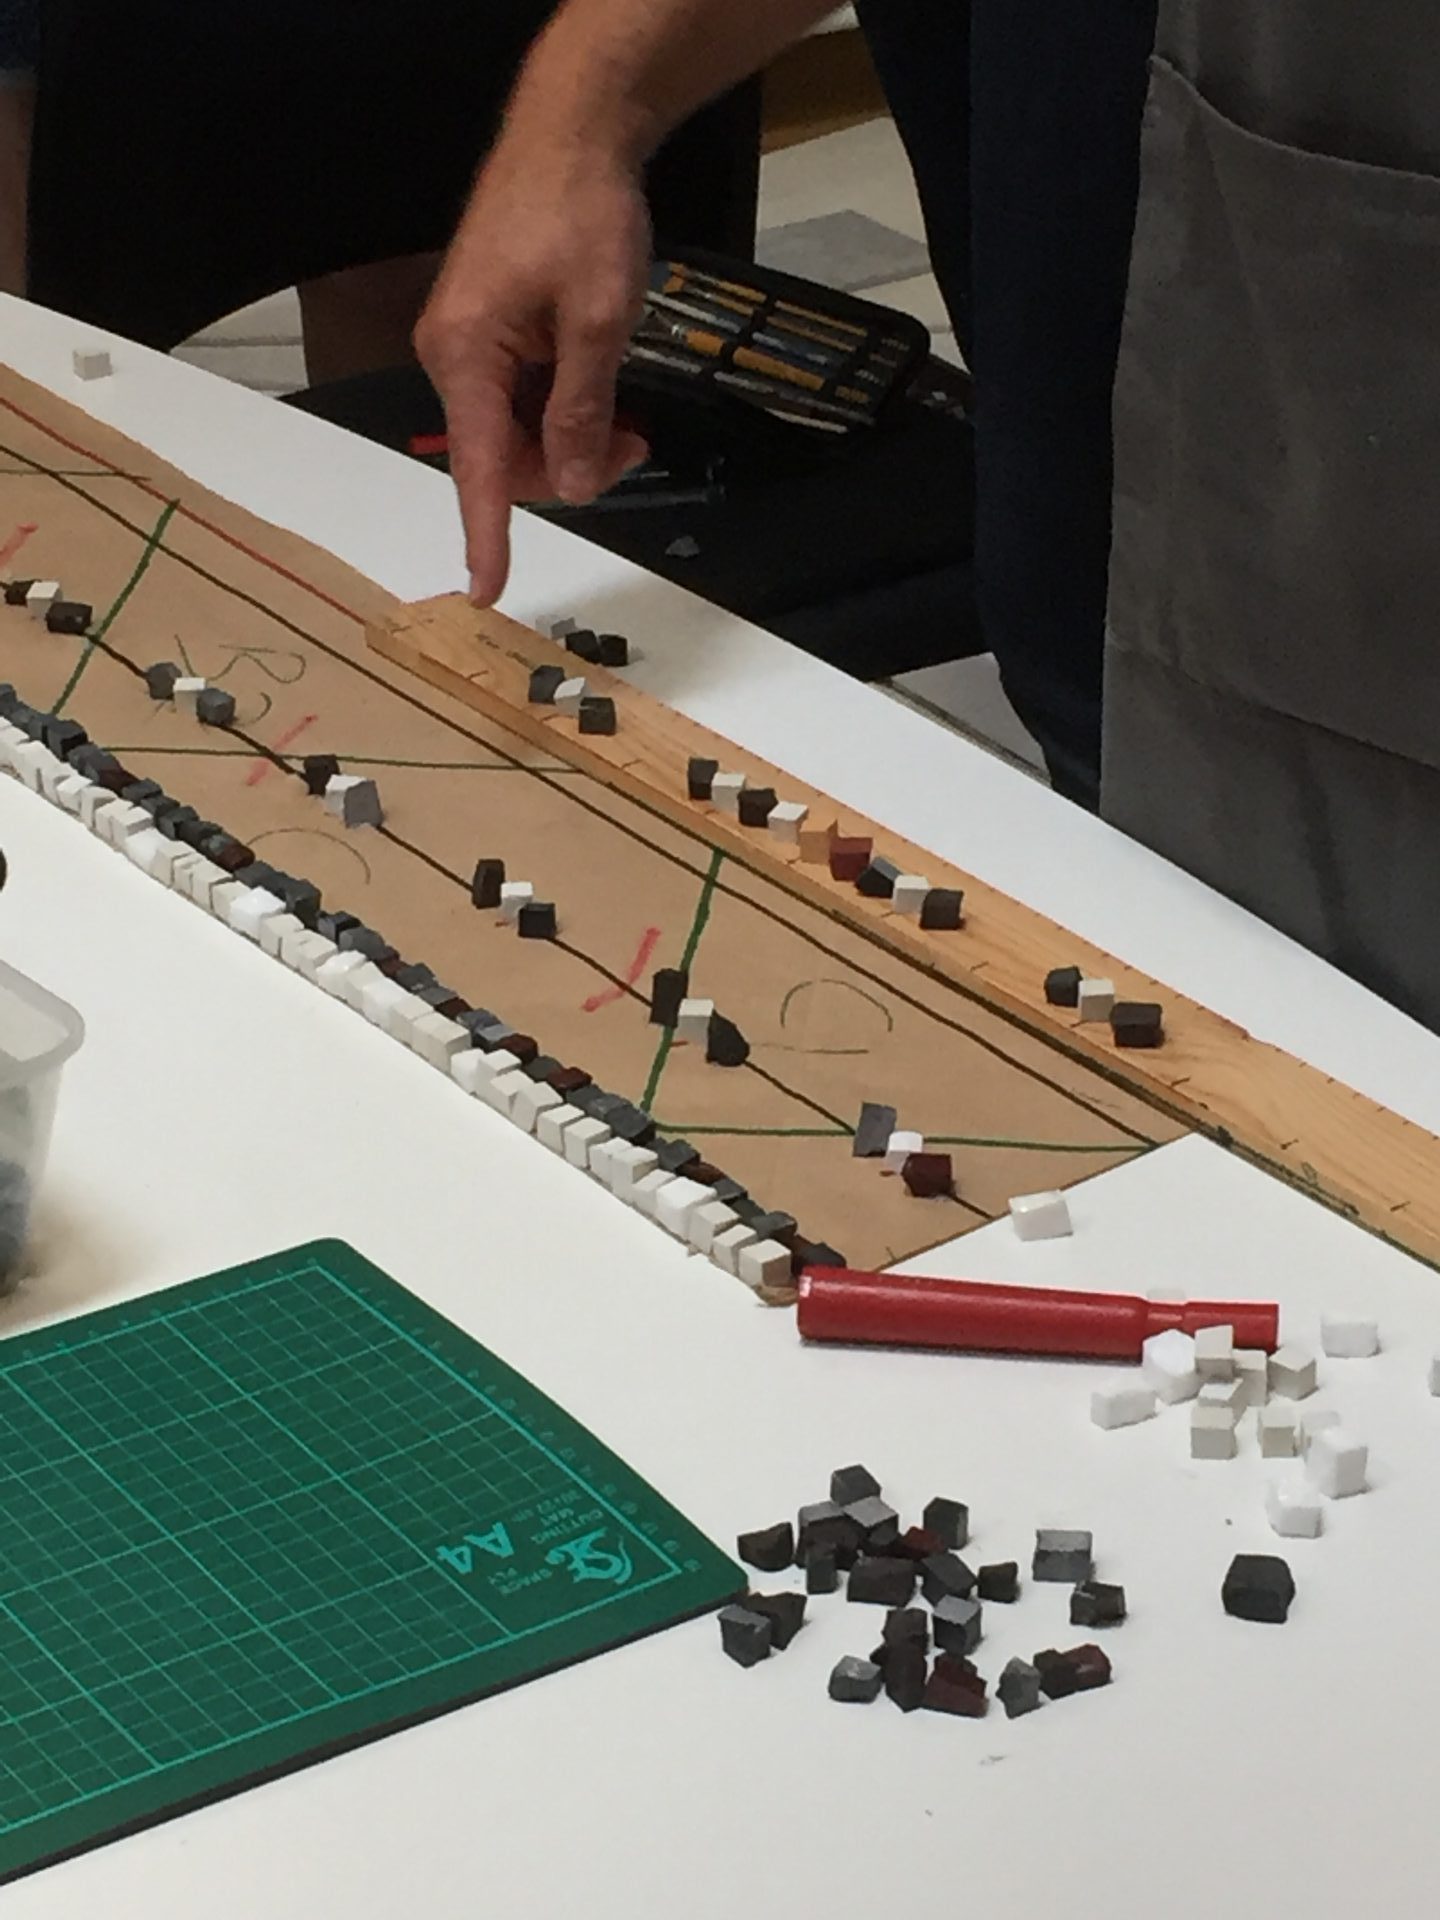
- To create the guilloche wraps, start off with tracing the white and the black wraps, later follow each colour around watching out for the connection points with black and white lines.
- To make the curve, place two black tesserae on the sided of your white knot and fit in a triangle (see picture below).

The above list is definitely not exhaustive and detailed but it gives you some starting point. If you would like to learn more, I would recommend finding a workshop by a mosaic artist who specialises in Roman mosaic. Also when you stick your tessera remember to stick them the side you want to have them ‘up’ later on. Leave for a couple of hours to dry.
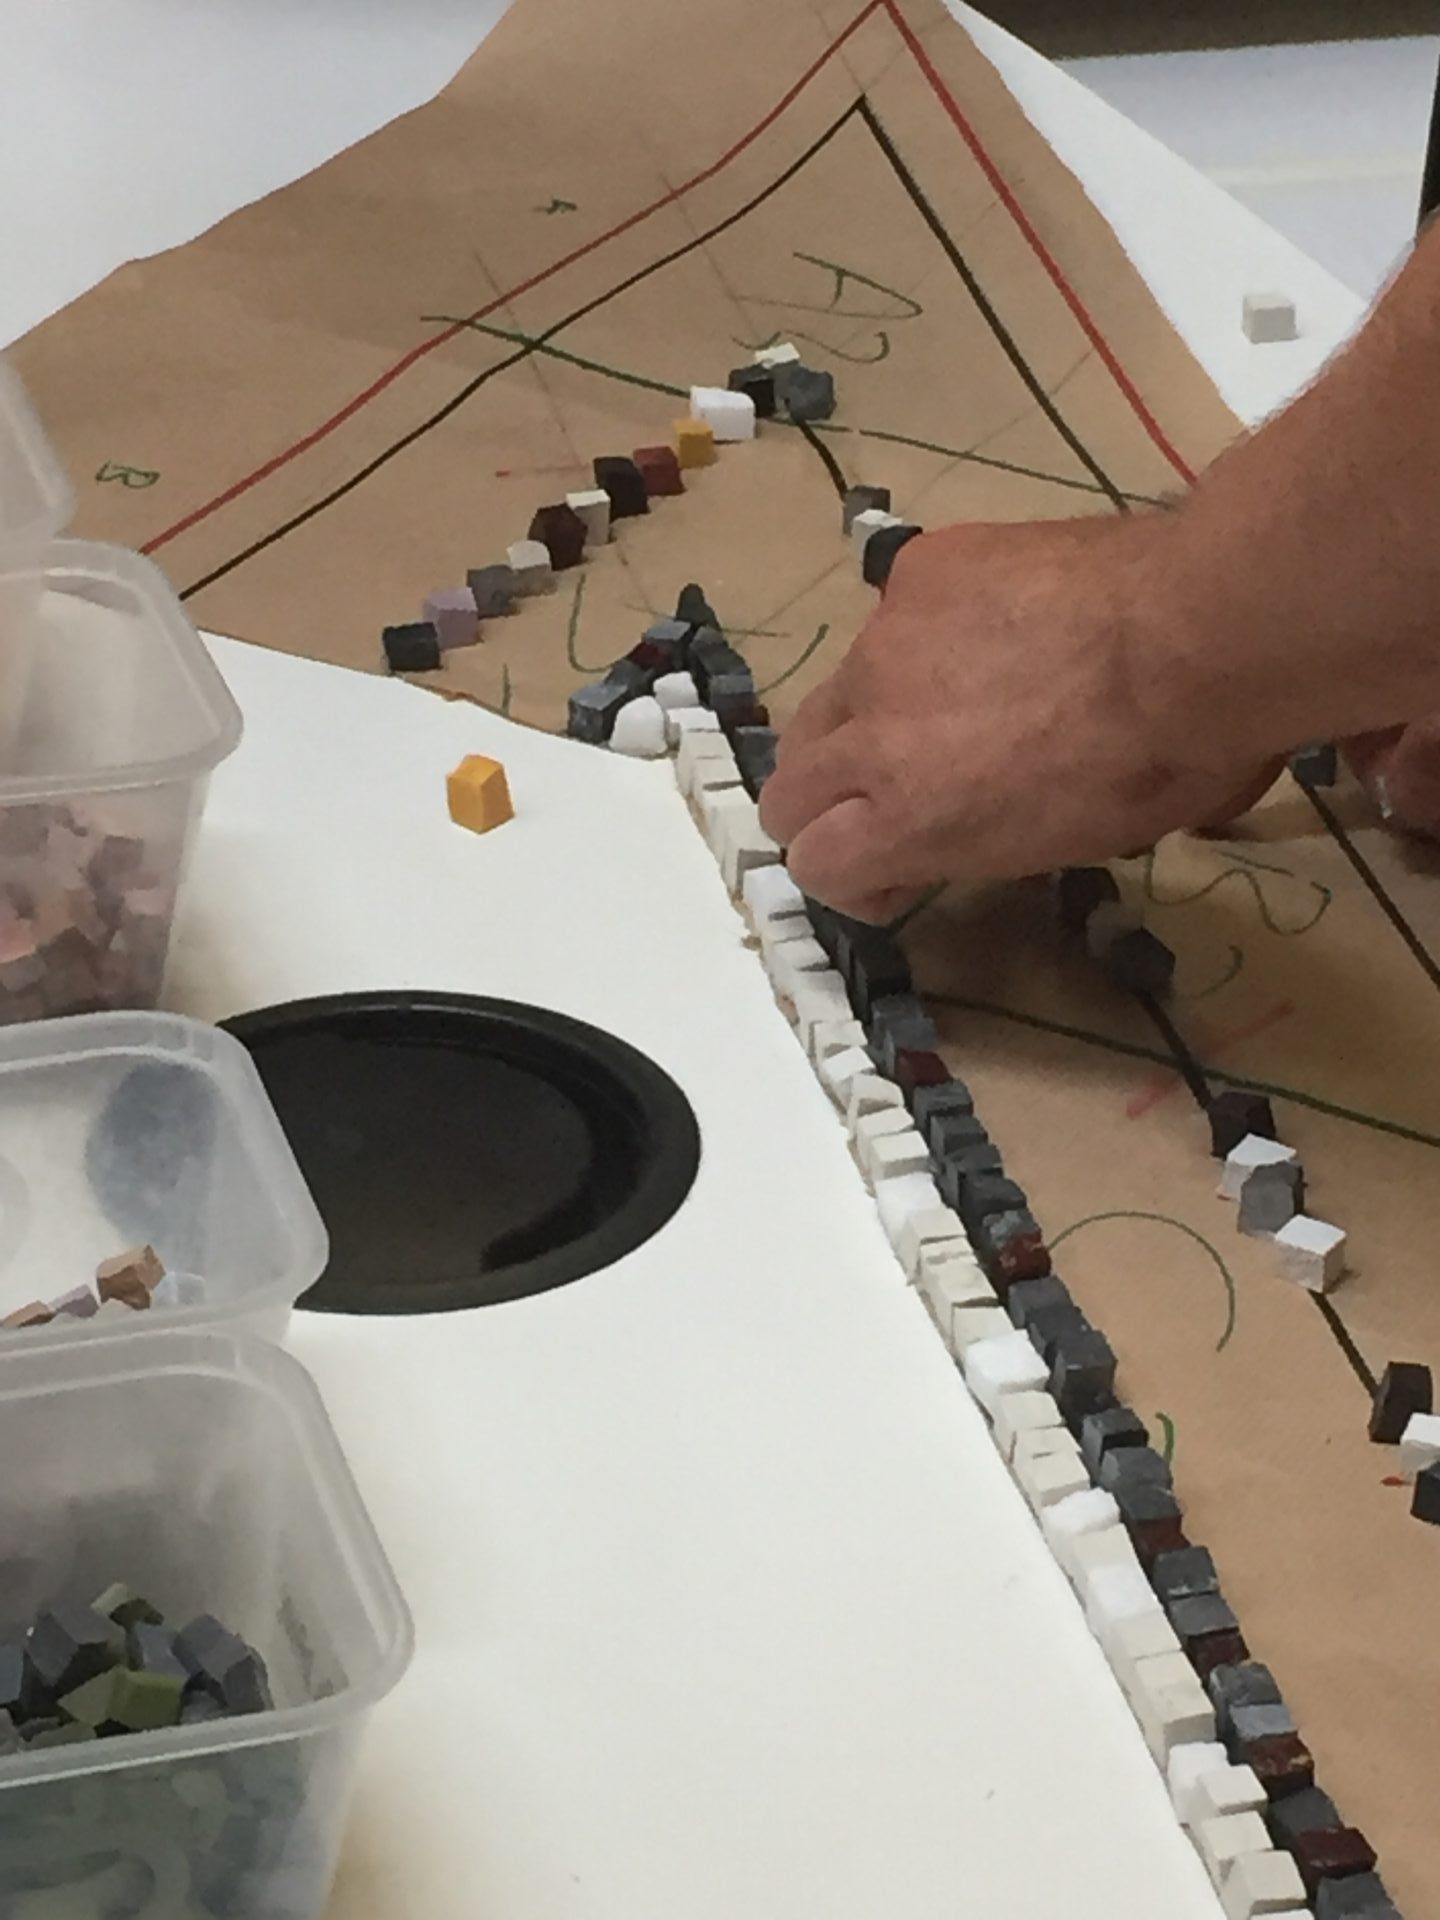
Setting & Grouting in cement
If the mosaic is large, you need to cut the designs in a few smaller shapes and number them before you start transferring! Believe me, later on, you will be happy that you did that. Creating the base and the cement is a complex process so let me just point out a few tips & tricks:
- to support the cement, screw the metal wire to your backing and put tiny stones below the wire to help the cement wrap around the wire;
- use 1 part cement, 3-4 parts of sand and add water mixed with PVA (3 to 1 ratio), make sure the mix is granular and sticks well together. Add more cement & PVA if needed.
- cover the board in PVA and spread the mixture, levelling it all out. Place your mosaic on top and grout from outside in (!).
It’s difficult to summarise the whole 2 days of knowledge into one post but I hope you will find a few useful things or will get inspired to learn more.
Next time I will cover day 4 & 5 and talk about the Direct setting in lime with Alessandro Lugari. Hopefully, you will find it usefull 🙂